 |
| Ottawa Alley (The image had been flipped horizontally) |
 |
| Proof #1 |
 |
| Scratch-Foam Board |
I have also done prints using the styrofoam that butchers use in grocery stores to wrap meat. In the styrofoam relief below (a print of my daughter holding a camera) I used a piece of styrofoam that was discarded from the chicken we had purchased for dinner.
 |
| Styrofoam relief made from common butcher's styrofoam |
I used a number of different tools on this first practice run: a scratch etch stylus and clay modelling tools but the best tool of all was an old discarded chopstick (top).
 |
| Tools |
 |
| Carved styrofoam on the right (after inking) |
In my original carving, I had used the chopstick to indicate bricks. When I ran a couple of prints, I found it much too busy and when I added watercolour later, it became a bit of a muddy mess.
I used Speedball water soluble printing ink: black (3400).
 |
| This is one of the original runs showing the brick effect |
The bricks were easy to eliminate just by smoothing out the styrofoam with the chopstick until the "bricks" were gone. Below is a proof without bricks.
 |
| This is one of the original runs without the brick effect |
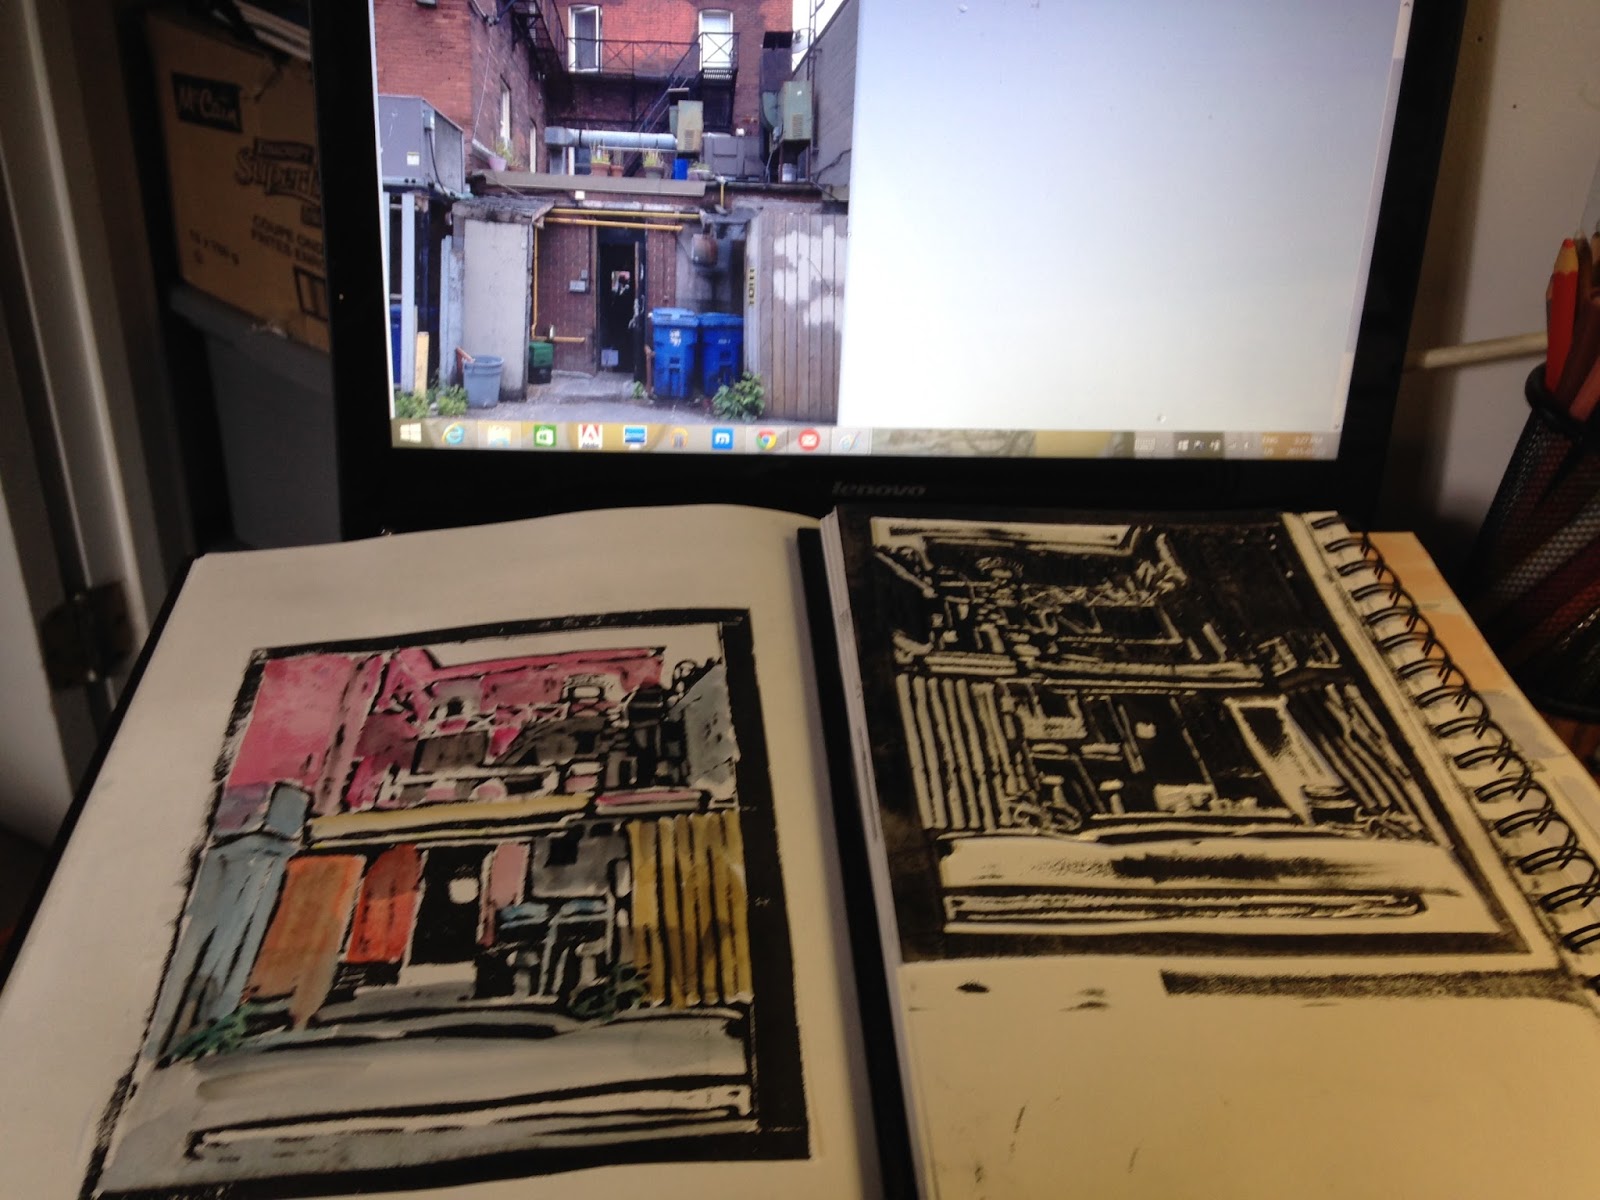
Below is my first proof with watercolour added. I plan to experiment with more colours (the more intense the better) and with different papers.
I used Subi (white) block printing paper this time but I wonder what effects could be achieved using other papers?
That will have to wait for the next time I play.
 |
| Proof #1 |
Inspiration Notes
I love sketching and I love printmaking and I wondered if there wasn't a way that I could do both?
I was inspired when I came across this styrofoam jigsaw block print at
Brian Holden's "Printmaking Journey" blog:
 |
| Source: Brian Holden's blog post: "demo relief print made from Styrofoam - jigsaw block technique" |
It seemed to me that styrofoam was well suited for this type of project - it is a commonly discarded material; it is fast to carve on location (unlike linoleum) and it's lightweight and easy to pack.
I revisited my Pinterest "Linocut" board for some more ideas and inspiration.
I think this concept can work. I will continue to look in alleys for a subject matter
that lends itself as beautifully as Brian Holden's crow in the garbage does.
The Sketch
 |
| Art journal sketch from photograph (mixed media on 100% cotton paper) |
Cindi! I've been wanting to get into print making recently and I'm so glad I found this post before I spent all the money on lino and cutting tools at Wallacks. Hopefully I'll be able to show you some prints next alley sketch session :)
ReplyDeleteSo glad you like the post! You can really play and have fun with styrofoam! I can't wait to see what you create. I should add that the inspiration for the print I did of my daughter came after I read this post about a cat print made from a takeout container: https://www.pinterest.com/pin/207517495307212301/
DeleteI should also mention that I am off to the Ottawa Art Gallery today for a free relief printing class with Anne Wanda Tessier - it's full unfortunately, but next time its offered I will give you a "heads up" now that I know you are interested http://ottawaartgallery.ca/content/summer-workshop-relief-printing
Delete